It’s been far too long since my last video blog – so thought it time to pull my finger out and get recording. In this video tutorial I walk through the simple process of creating Scalable Vector Graphics (SVGs) in Adobe Illustrator.
After explaining the basic principals of creating the file, I also share a few tips for minimising the file size for even better performance. If you’re new to Scalable Vector Graphics (SVGs), using Adobe Illustrator is a great way to begun using them and understanding how they work.
Video Transcript
If you’re struggling to watch the video, or just like a traditional step-by-step guide, you can follow the transcript below for creating your SVGs. I’ve also uploaded the video to our YouTube channel where you can watch the video in higher resolution too.
Step 1 – Preparing the artwork
The first thing to do is prepare your graphic within Adobe Illustrator. Before you save your vector artwork as an SVG, you first of all need to expand and group the various aspects of the graphic. To do this, simply select all elements of the graphic, and go to Object > Expand and Object > Group. Now that your image is expanded and grouped, you’re ready to trim the Artboard to the dimensions of your graphic. Trimming the Artboard removes any white space from the graphic, much like cropping in Photoshop.
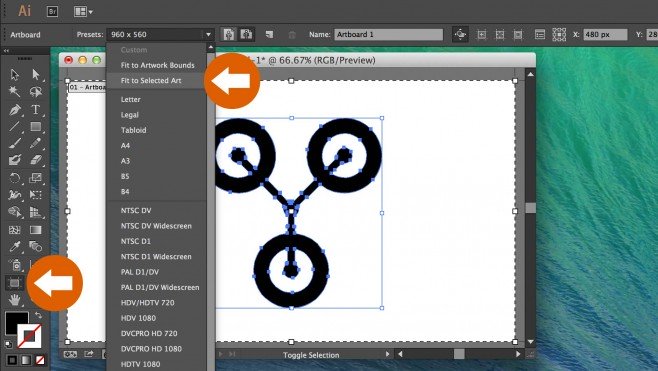
To do this, select the Artboard Tool from the left-hand toolbar as illustrated with the first orange arrow. Then, from the available presets, simply select ‘Fit to Selected Art’. This will then trim the Artboard to the exact dimensions of your artwork.
Step 2 – Saving your SVG
Now you’re ready to save and export your graphic as an SVG. Simply navigate to file > save as and select SVG from the available formats. Depending on which version of Illustrator you have, you should see a screen similar to this load:
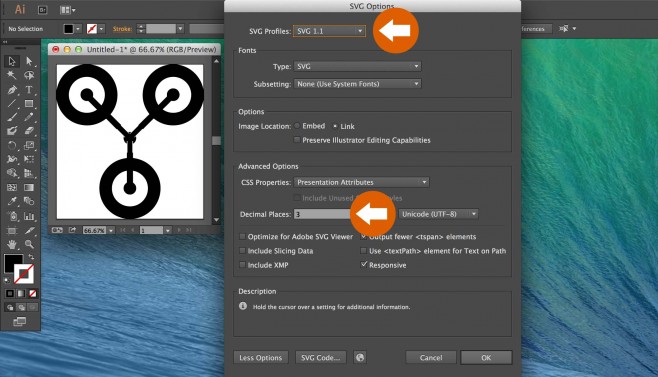
Thankfully, you don’t need to change too many settings at all in order to save your SVG. Simply use the default settings as follows:
- SVG Profile – SVG 1.1
- Type – SVG
- Subsetting – None
There is one setting however that is worth taking note of. ‘Decimal Places’ field allows you to specify a number between 1 and 7. The higher the number, the more complex but refined your SVG will be. I recommend leaving this set to ‘3’ however if your exported SVG contains flattened typography, you may need to raise this up to a ‘7’ in order for your graphic to look correct.
If you’re using Adobe Illustrator CC, you may notice the ‘Responsive’ checkbox in the settings. If you haven’t got this, don’t worry you’re not really missing out on anything, checking this box just removes the image dimensions which doesn’t make any different to the file that I’m aware of other than shave off a few bytes.
Step 3 – Editing the file
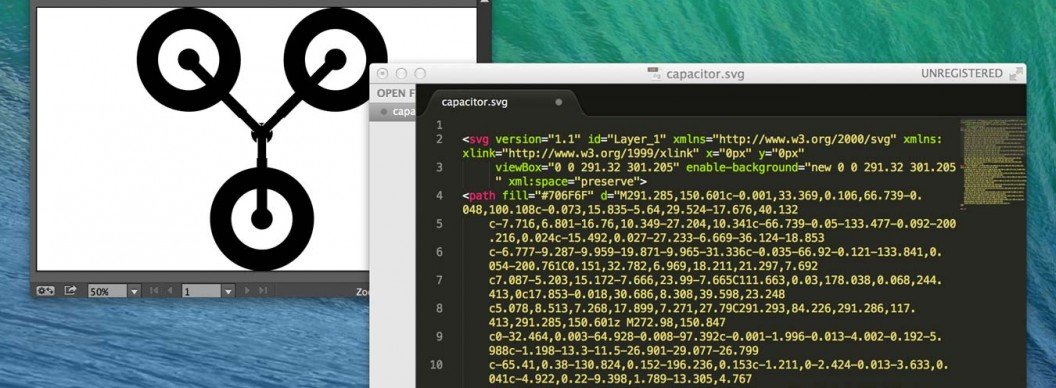
After saving your graphic, you can use it straight away. However I like to open it first in a text editor – in order to remove the first three lines of redundant code.
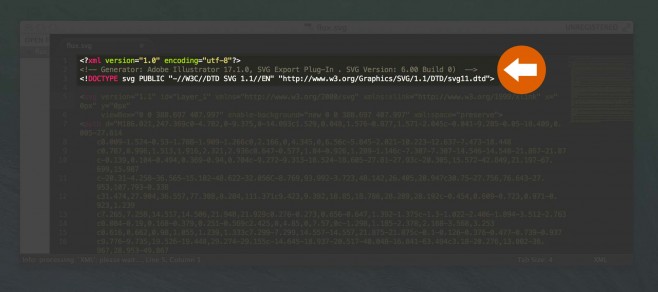
As highlighted above, I usually clear the first three lines of code, up until the opening <svg> tag.
And you’re done!