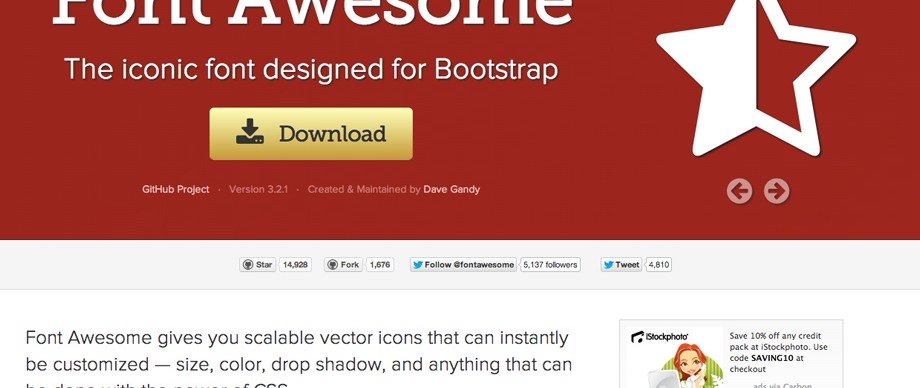
I’ve been banging on about Web Icon Fonts like Font Awesome for months now. Web Font Icons really took off in 2012 and look set to become standard practice in 2013 due to their benefits for both responsive and retina web design.
The Simple way to install Font Awesome 3.0
In our video below, we start with a simple walk-through for installing Font Awesome on a regular website without having to worry about Bootstrap or CSS LESS that are prominent in Font Awesome own installation instructions. If you use software like Creative Suite to prototype your designs, continue watching after the walk-through as there’s a second part to the tutorial that shows you how to use Font Awesome Icons in design software like Photoshop, Illustrator and Fireworks.
Whether you’ve watched our video above or not, you can also use these simple steps below that cover the key stages of the installation and usage.
Step 1 – Which Files You’ll Need
The first thing to do, is download the very latest version of Font Awesome, directly from their homepage. Unzip the file and locate the following files which we need:
- /css/font-awesome.css OR Â /css/font-awesome.min.css
- /css/font-awesome-ie7.min.css (if you’re looking for IE7 support)
- /font/ Â (the entire folder)
Add the font folder to the root of your website, and ideally add the CSS file(s) within a CSS folder. You can source these anywhere or even merge with your existing CSS, but you will need to make sure that the paths to the fonts within the CSS are correct.
@font-face {
  font-family: 'FontAwesome';
  src: url('../font/fontawesome-webfont.eot?v=3.0.1');
  src: url('../font/fontawesome-webfont.eot?#iefix&v=3.0.1') format('embedded-opentype'),
  url('../font/fontawesome-webfont.woff?v=3.0.1') format('woff'),
  url('../font/fontawesome-webfont.ttf?v=3.0.1') format('truetype');
  font-weight: normal;
  font-style: normal;
}
Above is the @font-face code that sources the fonts (lines 23-31 of font-awesome.css). Here you can see where you need to maintain the correct file paths to the font folder. Once you have added these files and correctly sourced the /font/ folder, you then simply need to source the font-awesome.css stylesheet in the normal manner:
	<link href="/css/font-awesome.css" rel="stylesheet" />
<!--[if IE 7]>
	<link rel="stylesheet" href="/css/font-awesome-ie7.min.css">
<![endif]-->
In the example above, we have also embedded the IE7 compatible fallback version.
Update: Something extra we’ve found when trying to support Font Awesome in IE7, is that you also need to add in some conditional statements around the opening <html> tag.
<!--[if lt IE 7 ]><html class="ie ie6" lang="en"> <![endif]-->
<!--[if IE 7 ]><html class="ie ie7" lang="en"> <![endif]-->
<!--[if IE 8 ]><html class="ie ie8" lang="en"> <![endif]-->
<!--[if (gte IE 9)|!(IE)]><!-->
<html lang="en" xmlns="http://www.w3.org/1999/xhtml">
<!--<![endif]-->
Step 2 – How to reference the Font Awesome Icons
Once you have completed Step 1, simply upload all of the files, and you’re ready to start using the icons. Deployment is simple, SEO friendly and very unobtrusive to your code. Font Awesome takes advantage of the <i> tag to deploy icons. The <i> tag was the traditional method in HTML4 for rendering italic text but is almost redundant in HTML5 despite being maintained.
In the example below, you can see how the icon can be deployed. Please note that there should be nothing inside the <i> tags. They need to be left empty.
<i class="icon-camera-retro"></i> icon-camera-retro
Try using the tags above to reveal the Retro Camera Icon as a test. If your first one works correctly, then they all will thereafter. All you have to do is simply change the class of the <i> tag to match the icon you’re looking to reveal. See the Copy & Paste resource page below for the best place to use as a reference point.

Step 3 – Prototyping Designs
Using Font Awesome 3.0 icons in your design prototypes couldn’t be simpler. When you download the ZIP, look inside the ‘font’ folder and install the font-awesome.otf typeface.
Open your design software like Photoshop, Fireworks or Illustrator and select the type tool. Next, select Font Awesome from the available typefaces, but don’t try randomly typing on the keyword to find an icon like you might in WingDings!
Simply head over to the Font Awesome Copy & Paste page and locate the icon you’d like to use in your design. Highlight the actual icon itself with your cursor, then copy it to your clipboard. Next simply return to Photoshop and paste the icon providing you still have the Font Awesome typeface selected. You can then work with the icon as you would with any typography. Perfect!
So that’s it, pretty simple and fast becoming a staple technique of front-end developers the world over. Font Awesome gives designers the flexibility to use a large, high-quality open source library of icons that can be styled and animated with CSS that scale perfectly on responsive and retina-friendly layouts.
If you have any questions, comments or problems installing Font Awesome, please leave them in the comments thread below:
