So you want to rank locally. Do you know that you need a Google My Business (GMB) page to appear in the map pack? Have you claimed, created, verified and optimised your Google+ page? If the answer to any one of those points is no, then you maybe you’re a little bit stuck. But not to worry, here is a basic guide to setting up Google My Business!
Google My Business is designed to give businesses a “public identity and presence on Googleâ€. What is interesting about this is that it plays an essential role in a small or medium sized business’ Local SEO campaign, so it is important to get it completely right!
Step One – Signing Into / Creating A Gmail Account
To start off you need to create a Gmail account (or sign in to yours if you already have one). Click on create an account, fill in your personal details (it is okay to link with your current email address, alternatively you can leave that section blank) and you’re ready to go!

Step Two -Â Navigating Through The Apps Section
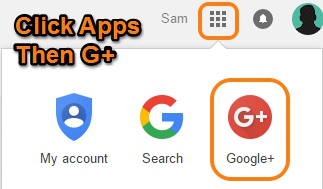
Now that you’ve done that you will notice in the top right section of your page is the Google Apps section that is made up of 9 squares. Click on here and then on the red google circle with a white G in it! Create your public profile and click on the upgrade to proceed as standard (there is no charge)!
Step Three – Moving From Home To Google Via Pages
Moving onto the next step, you need to click onto the home tab (top left corner) and select the pages options which takes us to a Get On Google Page. Click this button too!

Step Four – Searching For Your Company
You will now see a map of your country with a search bar in which you can enter a business name or address. This will allow you to find any existing pages your business or address may be associated with.

Step Five -Â Finding Your Business On Maps
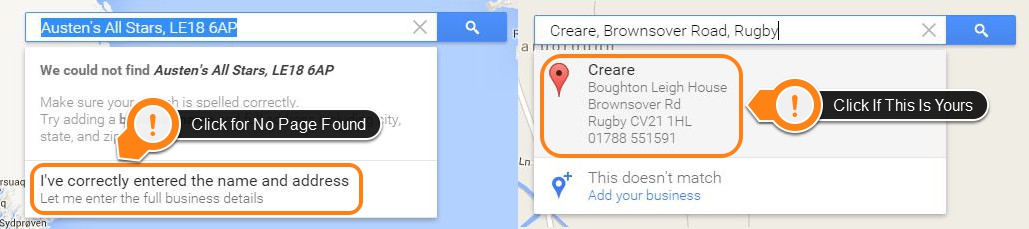
Your business is now showing or Google is telling you it can’t find a page for your business.
Scenario A -Â Control Your Page
If Google can find your page, click on your business and take control of it.
Scenario B – Entering A New Business
If your business doesn’t show on Google click on “I’ve correctly entered the name and address†which will allow you to enter your business’ details and create a new places page!
Scenario C – Somebody Else Has The Page
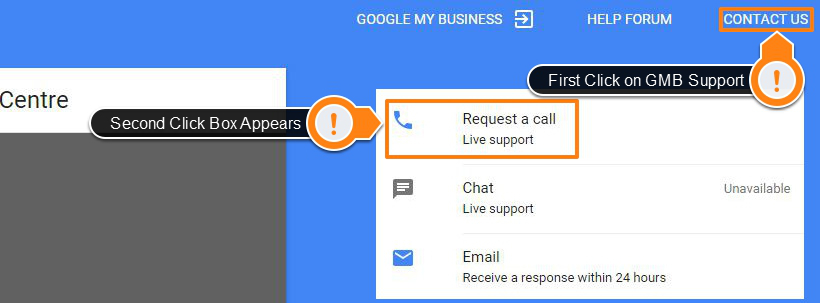
Another road block you may hit, is if somebody else already has that page in which case you’ll need to request admin rights. By calling Google Help Centre and requesting a call, a member of their team will verify your details and will then tell you how to claim the released page.
When calling the help centre click on “Contact Us†and then “Request a callâ€. A step by step guide then appears on to the screen in order for Google to give you a call.
When the call comes in select option 1 to speak to an operator.
Step Six – Correcting Your Details
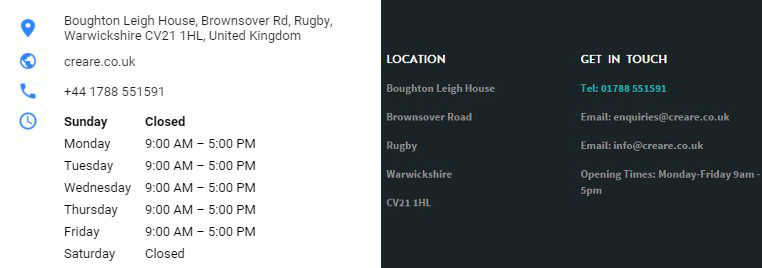
Once you have the page in your account, you will need to fill in all the correct details. Input the company name as you would like it to appear on Google. The same should be done for the address, phone number, description, categories, opening hours and the website URL.
Step Seven – Service Area Businesses
If you are a service area tick the box in the address section and select a radius from your position to how far out you serve. Use the radius rather than areas covered, as when selecting areas, the maps pin marker locates the business in the centre of the areas stated, not the actual location. Only select this option if you do not serve customers at your business location.
If you are not a service area business or you are a service area business, but you serve customers at your business location, then it is recommended that you are able to, if requested, to provide Google with a storefront photograph. This maybe used in the verification process. The photo should show the business name or logo on a building, easily readable for all!. You may be lucky and your business could already be showing on Google Street View!
Step Eight – Ensuring Details Are Correct
Once the correct details have been entered, check to see if they are correct on Google maps. The changes and edits you make may take 24-48 hours to go live. If they are not correct after this time period, use the Google Help Centre and ask them to make a manual change from their end. The details Google displays should match your website.
Step Nine – Verification
Once completed request the verification pin code. A postcard will be sent out that should look like:
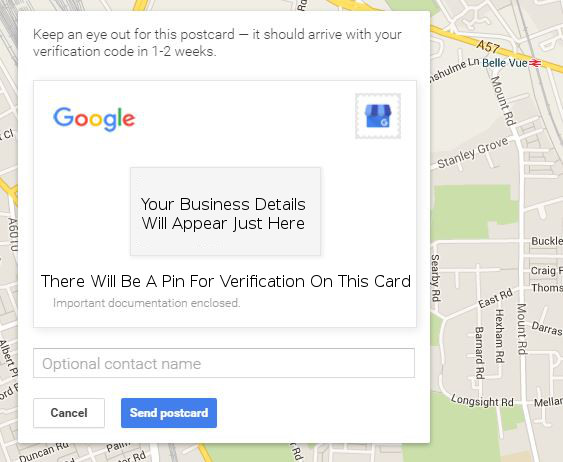
If it doesn’t arrive within 2 weeks use the Google Help Centre to do a manual verification. This will involve Google asking for the store front picture (if you’re not a service area) and ringing the number listed on the page to confirm the business details (name, address, phone number, website, opening hours etc).
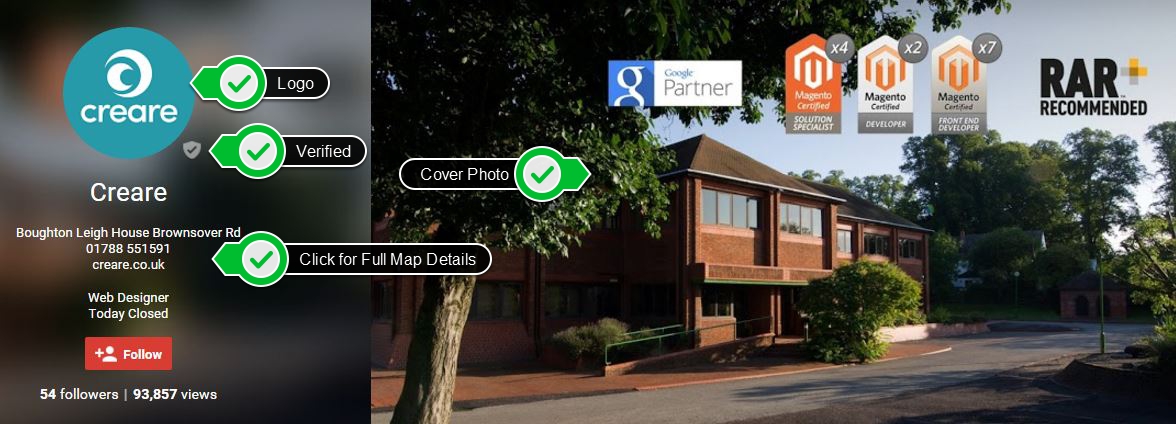
Step Ten – Full Optimisation Leading To A Completed Page
Once the page is verified add a logo, cover photo and any other photos you wish to be displayed. The logo should be 250px x 250px for the best upload possible. Double check one last time that all details are correct on Google maps, that the page is verified and that photos have been added.
That is your basic guide to setting up Google My Business. If you need any further help you can use the Google Help Centre or you can contact us here at Creare!