From time to time, you might find yourself changing the domain or location of your WordPress installation. A side-effect of doing this can be the left-over, hard-coded references to your former URL. In this quick tutorial, I’m going to show you how simple it is to update all references to your old domain by doing a MySQL query to find and replace all instances.
Whether you’re setting a locally developed installation live or simply changing domain names; having left-over remnants of your old location can be a real nuisance. Particularly as the 404s might not show up until your own computer’s cache of the domains has been updated.
Step 1 – Connect to your database
To begin, you need to connect to your newly transferred website’s database. You can do this through any access point, however if you’ve never accessed your database before, then i’d recommend downloading some free software like Sequel Pro for Mac that will allow you do to do.
The easiest way to find your database connection settings, is to open wp-config.php from the root level of your WordPress installation. Line 19-28 should look a little something like this:
define('DB_NAME', 'crearewebdesign');
/** MySQL database username */
define('DB_USER', 'dbusername');
/** MySQL database password */
define('DB_PASSWORD', 'dbpassword');
/** MySQL hostname */<br />define('DB_HOST', 'localhost');
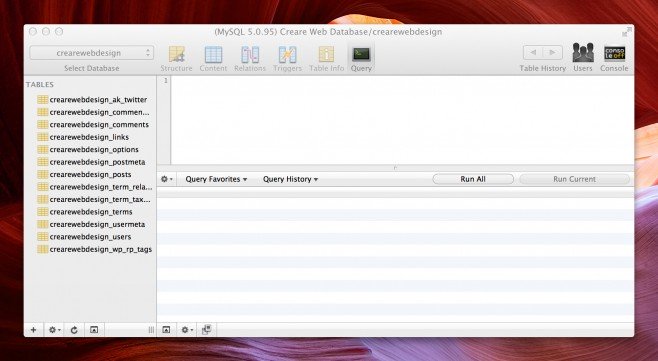
If like in my example above your database is hosted locally (‘localhost’) then programmes/software like Sequel Pro will need the IP address of your hosting server in order to dial in. Once you’ve dialled into your database, you should get something a little like this:
Step 2 – Make the Query
Now that you’ve connected to your MySQL database, performing the query is very straight forward.
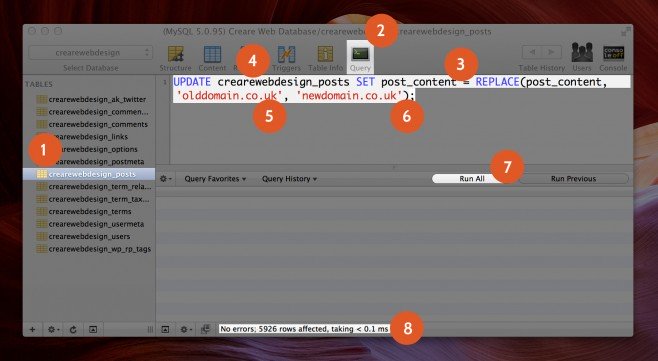
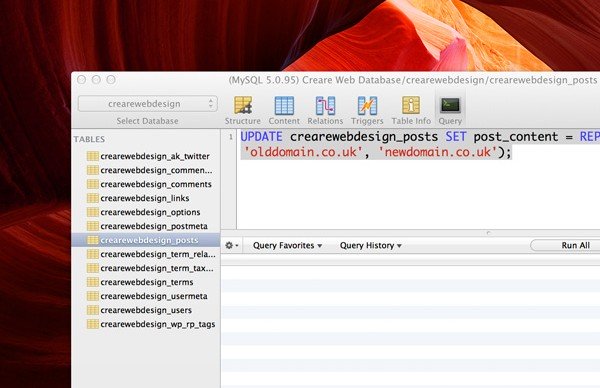
To begin you simply locate and click on your database’s Posts table, as indicated above in fig.1. Next, click onto the ‘Query’ tab as shown in fig.2. Now copy the following MySQL query:
UPDATE crearewebdesign_posts SET post_content = REPLACE(post_content, 'olddomain.co.uk', 'newdomain.co.uk');
And paste this into the window in fig.3. Next you simply need to change the ‘crearewebdesign_posts’ table reference in fig.4 to match your Post Table name that we mentioned in Fig.1. Finally you simply need to change fig.5 and fig.6 to match your former and new domain/destinations.
To run the query, simply hit the ‘Run All’ button (fig.7) and the outcome of the process will be summarised for you in the bottom console, as shown in fig.8.
That’s it! Make sure you check the front-end of your website after completing the query to ensure that everything is working as expected. It’s always worth backing up your database before performing any query or change to your data.