
Just last week I was introduced to Gulp by one of my colleagues. After a short presentation about how and why to use Gulp, I was sold. ‘Why haven’t I been using this before?’ was my immediate thought!
If you don’t want to read the background, skip to the good bit here.
I won’t go through all the features and benefits of using Gulp (there are plenty of other blog posts around the internet which I’ll let persuade you). Instead, I want to share one of my Eureka moments with you, which was when I managed to get Gulp and Magento working seamlessly, specifically Magento 1.9.
Gulp & Magento
Here at Creare, we use WordPress and Magento day in, day out, so getting Gulp to work with both these platforms is essential for us to be able to move forwards. Getting Gulp to work with WordPress is very straight forward and nothing out of the ordinary is required. Magento 1.9 on the other hand was slightly more tricky. Now you may also be thinking, why is this specifically aimed at Magento 1.9? The reason is – SASS.
One of the great features of Magento is its fallback system. If a file isn’t found in your theme, Magento will fall back through the themes to try and find the file it’s looking for (this fallback process is a set process which has been built in to Magento). Here’s a brief explanation.
So this all sounds great so far but when we’re talking about compiling SASS, this get’s a little more complex. Essentially, we need to make sure we can compile SASS but retain the fallback system in Magento, so if a particular scss file isn’t present in our configured theme, the fallback is in place to grab the file from our default theme.
You still with me? Good, let’s continue…
So we’ve covered some of the background, now let’s get stuck in and set this up!
At this point, I need to assume that you’ve already done the following (if you haven’t, do so before continuing):
- Installed Magento
- Created a new package for your theme
- Created a new theme folder
- Your Magento design settings reflect the change (System > Configuration > General > Design)
- Node.js is installed on your computer & Gulp is installed globally
- You have some knowledge of Gulp (this is a good starting point if not)
Now we’re going to install Gulp into your project. In command line, browse into /skin/frontend/your_package/your_theme/ and make this your active directory. Once in there, in command line, you’re going to need to type:
npm init
Command line will prompt you with a few questions which you can hit enter to skip or type what you want in each of the sections.
Once completed, a package.json file will be created in your directory. This file contains meta data about your project, one of these things is dependencies.
Now you want to install Gulp locally to your project with the following command:
npm install gulp --save-dev
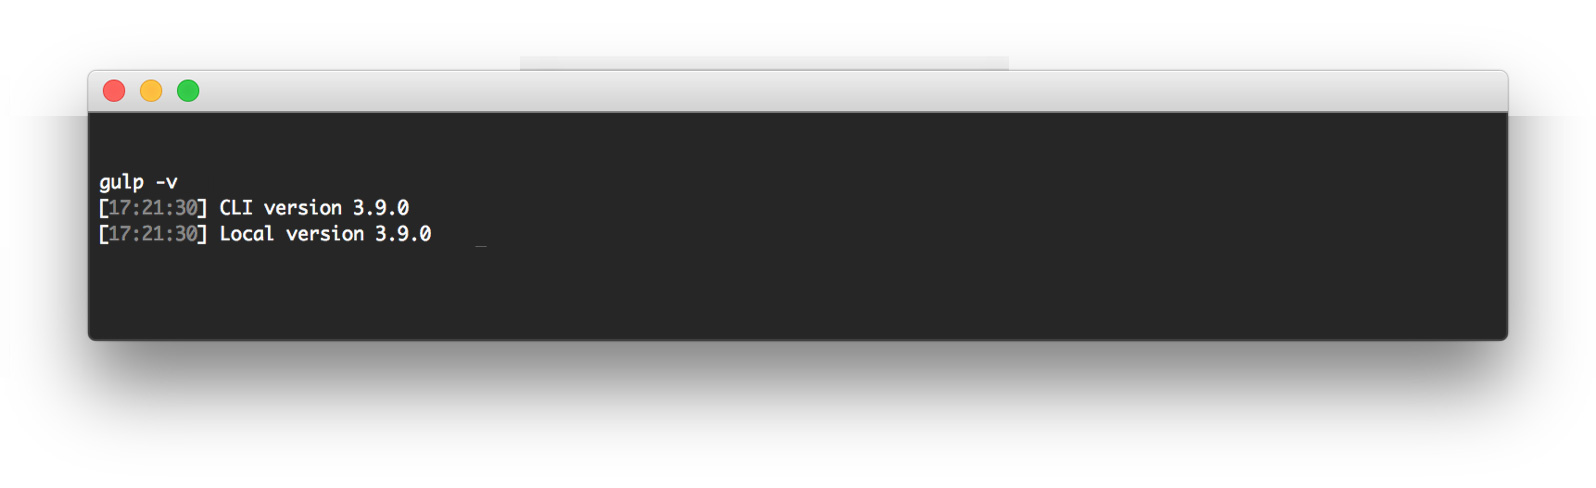
You’ll know if this has worked correctly by typing ‘gulp -v‘ into command line, this should show you two versions of Gulp; Global and Local.
The next thing you need is a gulpfile.js to be created on the same level as the package.json file (you shouldn’t have changed directories in command line). This is basically the configuration file for Gulp, so it knows what to do with your project. You can leave this empty for now, as we need to create another file first.
On the same level as the package.json and gulpfile.js file, you need to create a config.rb file. This file is a compass configuration file, which is very important for us and the fall back system we want to utilise! Inside that config.rb file, you want to paste the following:
## Path to assets
http_path = "/skin/frontend/your_package/your_theme/"
css_dir = "css"
sass_dir = "scss"
images_dir = "images"
javascripts_dir = "js"

## Fallback path
add_import_path "../../rwd/default/scss"

## Enable relative assets
relative_assets = true

## Output style
output_style = :expanded #:expanded / :nested / :compact / :compressed
environment = :development # :production / :development

## SASS Options
line_comments = true
This is really important, especially the ‘add_import_path’ part. This is what tells Gulp to look for the missing files in your specified fallback destination. I’ve set this to fallback to the RWD package and the default theme (which is default in Magento 1.9).
For Gulp to compile your SCSS files, we need to install a plugin. The plugin I used is gulp-compass. The reason we use gulp-compass and not gulp-sass to compile, is that Magento SCSS requires gulp-compass and will not work with just gulp-sass. So to install gulp-compass, we need to go back to command line (same directory as before) and type the following:
npm install gulp-compass --save-dev
This will install the required Compass plugin into your project, which we can now use. We can now go back to the gulpfile.js now and set up some tasks. I used the following (yours may differ if you have other plugins):
// Load plugins
var
gulp = require('gulp'),
compass = require('gulp-compass');

var paths = {
scss: ['scss/*.scss', 'scss/*/*.scss']
};

// Compass task
gulp.task('compass', function() {
gulp.src('scss/*.scss')
.pipe(compass({
config_file: 'config.rb',
css: 'css',
sass: 'scss'
}))
.pipe(gulp.dest('css'));
});

// Default task
gulp.task('default', function() {
gulp.watch(paths.scss, ['compass']);
});
EDIT: You’ll notice in the above configuration that I’ve included a variable of paths and in that, defined all places where my .scss files are which could be edited. If you don’t do this and just ask Gulp to watch one location of .scss files, if you edit scss within a sub-folder then the Watch task won’t run. The Compass task runs fine, Gulp just can’t tell which files have been changed. You can do this with any file type, not just .scss, it could be useful for images & scripts if you’re using certain Gulp plugins.
So that’s all the configuration done, now we can try and put this into practice. Copy over the SCSSÂ folder from /skin/frontend/rwd/default/ into your new package and theme. From your theme, you can delete the following folders from inside the scss folder:
- Core
- Function
- Layout
- Mixin
- Module
- Override
- Vendor
EDIT: The only thing you actually need to copy over is the style.scss file to ensure this is working. We’ve set up the fallback in our config.rb file so any file which is not in your theme, gulp will grab from your desired fallback destination.
Now you only need to copy over the files you need to change instead of having all the files in your theme, despite whether you change them or not.
The only thing left to do is to browse into the scss directory in command line and then run the command ‘gulp‘. We set up a default task in our gulpfile.js so we don’t need to specify an exact task to run.
EDIT: If you’re having problems with Gulp not running at this point, it might be that you also need Compass installed on your computer. You can get it from here – http://compass-style.org/install/
When you modify some SASS in your new theme, you’ll see that Gulp compiles the files from your configured theme and the fallback (defined in config.rb).
So that’s it, you’re all set up and ready to go! Remember, you can find a lot of useful plugins on the Gulp website to speed up your development.
Not mentioning any names, but the previous method I was using to compile SASS with Magento took about 10-15 seconds…Gulp takes 5 seconds, maximum!! When combined with gulp-livereload and the Chrome LiveReload Extension, development is a much quicker process.
I hope you can find this useful and if you have set your project up differently, comment below!